The Importance of Time-Saving Solutions
School administrators and educators are constantly juggling various responsibilities. The K12Press Plugin Library simplifies the process of building and maintaining a school website, allowing them to devote more time to education rather than website management.
A Curated Collection of Plugins
The library features a handpicked collection of plugins that are specifically tailored to meet the needs of K-12 school websites. This curation eliminates the guesswork and trial-and-error usually associated with selecting the right tools, ensuring a smooth and efficient website building experience.
Step-by-Step Guide to Using K12Press Plugin Library
- Installation and Setup:
- Learn how to quickly install the K12Press Plugin Library on your WordPress site.
- Understand the initial setup process, ensuring a seamless integration.
- Navigating the Plugin Library:
- Get acquainted with the user-friendly interface.
- Discover how to easily browse and select from the curated list of plugins.
- Selecting and Implementing Plugins:
- Tips on choosing plugins that help in the intial WordPress website setup.
- Step-by-step instructions on installing these plugins into your website and accessing upgraded features.
- Maximizing the Benefits:
- Learn how to utilize the full potential of the plugins by upgrading the K12Press Plugin Library.
- Explore ways to enhance user experience and website functionality.
With the K12Press Plugin Library, creating and managing a school website becomes less of a chore and more of a streamlined, enjoyable process. The library’s focus on relevant, high-quality plugins ensures that your school website is not only efficient but also feature-rich and engaging.
For schools looking to improve their online presence, the K12Press Plugin Library also plays a significant role in SEO. The right plugins can enhance website performance, user engagement, and content quality, all of which are crucial for better search engine rankings.
The K12Press Plugin Library is more than just a time-saving tool; it’s an essential resource for any school looking to establish a robust online presence. Watch our comprehensive YouTube tutorial to get started and visit K12Press.com for more insights and tools.
Step by Step | Installing, Using and Upgrading the K12Press Plugin Library
-
Starting with a Fresh WordPress Install:
- Begin with a fresh WordPress installation. Ensure that it’s a clean setup with minimal pre-installed plugins.
-
Accessing the Plugin Section:
- In your WordPress dashboard, navigate to ‘Plugins’ and select ‘Add New’.
-
Uploading the K12Press Plugin Library:
- If you have the K12Press Plugin Library in a zipped folder, go to ‘Upload Plugin’.
- Choose the file and upload the zipped folder of the K12Press Plugin Library.
- Install and activate the plugin.
-
Exploring the K12Press Plugin Library:
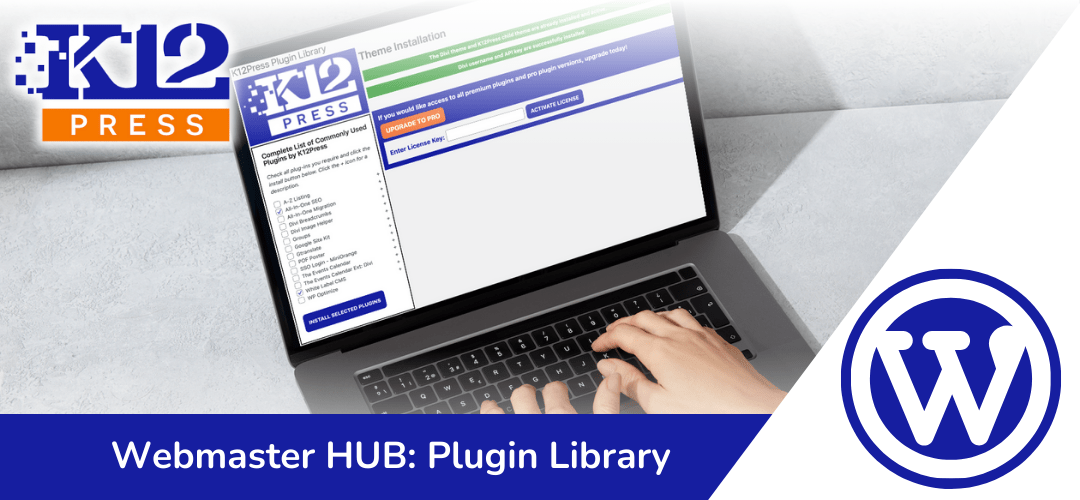
- Find the K12Press Plugin Library at the bottom of your dashboard.
- Click on the main page to view a list of commonly used free plugins.
- Use the option to check and install multiple plugins at once.
-
Activating the White Label CMS Plugin:
- Activate the White Label CMS plugin first to unlock additional backend features for setting up your school website.
-
Importing White Label CMS Settings:
- After installation, click ‘Import White Label CMS Settings’.
- This changes your dashboard interface to a K12Press theme, aligning with the tutorials.
-
Installing Essential Plugins:
- Install plugins like ‘All in One SEO’ and the ‘Divi’ theme.
- The Divi theme installation includes access to the K12Press Divi child theme and a shared Divi license.
-
Exploring Additional Plugins and Features:
- Review and install other useful plugins from the library as needed.
- If you choose to upgrade to Pro, you’ll have access to more advanced features and plugins.
-
Upgrading to Pro:
- Consider upgrading to Pro via PayPal for additional features.
- Once purchased, you’ll receive a license key via email.
- Enter the license key to activate Pro features, giving you access to an extended range of plugins and tools.
-
Finalizing the Setup:
- Choose and install additional Pro plugins as required for your school’s website.
- Regular updates will add more features to the K12Press Plugin Library.


