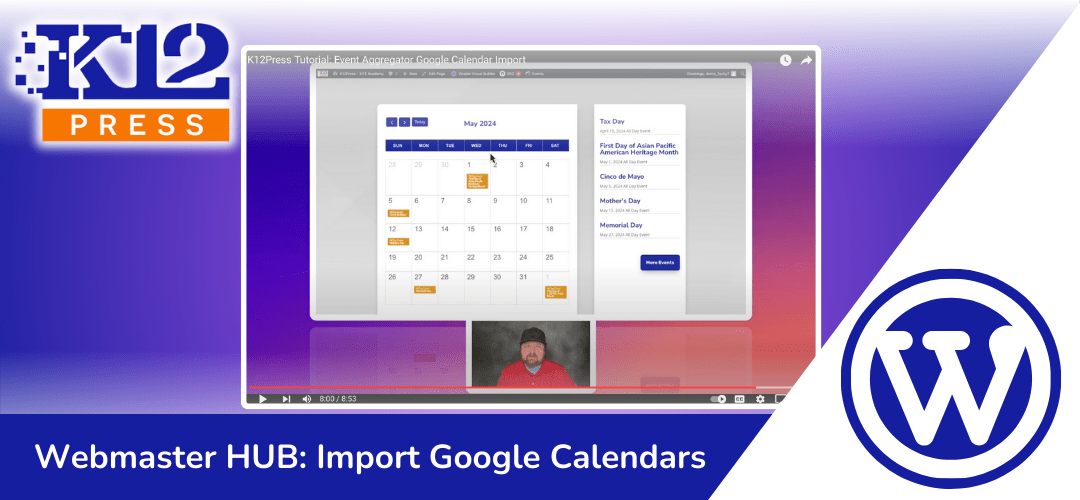
In the fast-paced world of educational administration, keeping the school community informed about upcoming events is crucial. That’s why K12Press has developed a comprehensive tutorial to revolutionize how your school manages its calendar. Our latest Webmaster HUB tutorial, “Better Event Control with Google Calendar Imports,” is designed to seamlessly integrate Google Calendar events directly into your K12Press website. This guide ensures that students, parents, and staff are always in the loop with the school’s activities, enhancing communication and participation.
How It Works:
The following step-by-step tutorial walks you through the process of using the Event Aggregator tool for Google Calendar Imports into your school’s website calendar. With easy-to-follow instructions, you’ll learn how to:
- Set Up Event Aggregator: Get started by configuring the Event Aggregator plugin on your K12Press site, ensuring a smooth integration with Google Calendar.
- Customize Import Settings: Tailor the import process to fit your school’s specific needs, from selecting which events to import to determining how often your calendar syncs.
- Automate Your Event Updates: Say goodbye to the tedious task of manually entering each event. Our method provides a hassle-free way to keep your school’s calendar up to date with real-time synchronization.
How Google Calendar Imports Benefit Your School:
- Enhanced Accessibility: Make sure your school community has immediate access to the latest event information, fostering greater involvement and attendance.
- Time Savings: Automate the event management process, allowing administrators and educators to focus more on student engagement and less on administrative tasks.
- Improved Communication: Streamline how event information is shared, ensuring that everyone has access to the same, accurate details about school happenings.
Call to Action:
Are you ready to transform how your school manages its event calendar? Watch our tutorial on “K12Press Tutorial: Event Aggregator Google Calendar Imports” and discover the ease and efficiency of integrating Google Calendar with your K12Press website. Dive into the tutorial now and take the first step towards a more connected and informed school community.
To obtain the plugins needed in this tutorial you will have to procure the Events Calendar Plugin Pro Upgrade & Event Aggregator Add-On. These can be obtained via the K12 Press Plugin Library PRO upgrade, or purchased separately for around $200/year.
Unlock the potential of your school’s event management by visiting https://youtu.be/LvgAbhIuK_o and join the ranks of K12Press-powered schools leveraging technology for better communication and engagement.
Step by Step | Import Google Calendar Events into Your School Website's Calendar
Prerequisites:
- Required Upgrades:
- Events Calendar Plugin Pro Upgrade.
- Modern Tribe: Event Aggregator Add-On.
- These can be obtained via the K12 Press Plugin Library upgrade, or purchased separately for around $200/year.
Steps for Google Calendar Imports:
- Access the K12 Press XYZ Academy Demo Site:
- Navigate to the backend of the demo site to begin the process.
- Verify Licenses:
- Go to
Settings>Events. - Click on
Licensesto ensure you have the necessary licenses for the Event Aggregator and Calendar Pro installed.
- Go to
- Initiate Import Process:
- Now, Click on
Importto start the process. If licenses are not installed, a splash screen will appear with limited options.
- Now, Click on
- Select Import Source:
- Choose
Google Calendaras the source for import.
- Choose
- Prepare for Google Calendar Imports:
- Select the calendar you wish to import.
- Click on the three dots >
Settings. - Find the ICAL format link under integration options and copy it.
- Execute the Import:
- Assign a name (e.g., “Holidays”) and decide whether it’s a one-time import or a scheduled sync.
- For scheduled syncs, consider the frequency and impact on server resources.
- Refinement and Preview:
- Optionally, refine the import criteria (e.g., keywords, date ranges).
- Next, Click
Previewto review the events and details like start dates and times.
- Finalize Import:
- After reviewing, click
Import Allto finalize the process. - Monitor the import under the
Historysection to see completed imports.
- After reviewing, click
- Review Imported Events:
- Navigate to
Eventsto edit or review individual events as needed. - Set up categories for each event to facilitate filtering on your website.
- Navigate to
- Verify on Website:
- Check the homepage calendar on your website to see the newly added events.
Additional Tips:
- Monitor server resources closely if scheduling frequent imports to prevent performance issues.
- Consider the utility of scheduled imports for maintaining an up-to-date calendar with minimal manual intervention.


