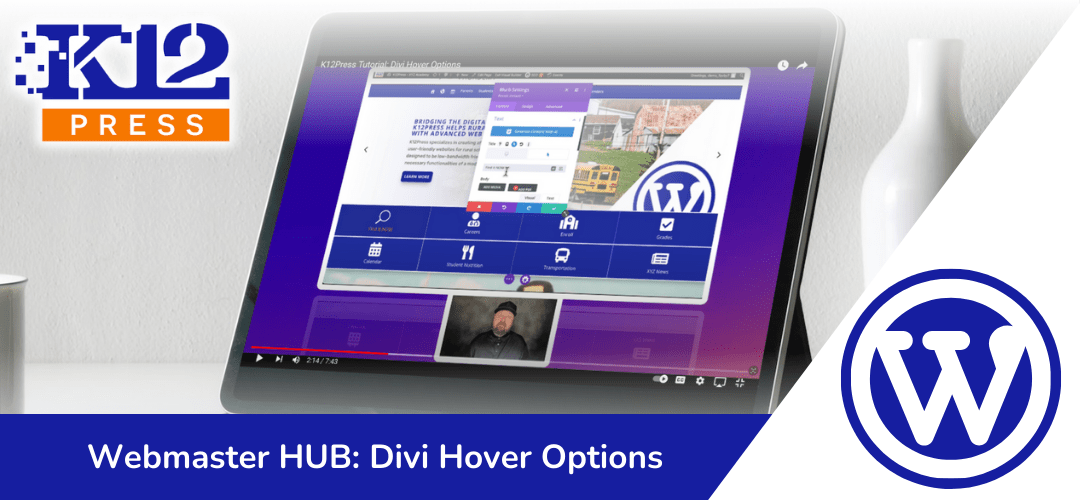
In this K12Press tutorial, we’re excited to unveil the power of Divi Hover Options, a tool designed to transform your educational website into an interactive, dynamic experience. This tutorial, now available on our YouTube channel, guides you through the process of enhancing your site with elegant hover effects that capture attention and encourage exploration.
Why Divi Hover Options Matter
In today’s fast-paced online world, capturing and retaining the attention of your visitors is essential. Divi Hover Options offer a simple yet powerful way to add depth to your website’s design, making content stand out and providing a more engaging user experience. Whether it’s highlighting faculty profiles, showcasing student achievements, or drawing attention to upcoming events, hover effects can make vital information pop and keep your community interested and informed.
What You’ll Learn
Our comprehensive tutorial covers everything you need to know to start using Divi Hover Options on your school’s website, including:
- Introduction to Hover Options: Understand the basics of hover effects and how they can elevate the look and feel of your site.
- Customization Techniques: Learn how to tailor hover effects to fit your school’s branding and style, ensuring a cohesive and visually appealing online presence.
- Practical Applications: Discover creative ways to apply hover effects across different elements of your site, from images and buttons to text and beyond.
- Enhancing User Engagement: See how interactive elements can improve navigation, keep visitors on your site longer, and increase the likelihood of their return.
Tutorial Highlights
This K12Press tutorial, available at https://youtu.be/vTMSgb2asR0, is crafted with educators and school webmasters in mind. It breaks down the process into easy-to-follow steps, ensuring that even those new to Divi or web design can confidently implement hover effects. By the end of the video, you’ll be equipped with the knowledge to make your school’s website not just a source of information, but a vibrant, interactive hub for your community.
Ready to Transform Your School’s Website?
Interactive design elements like Divi Hover Options are just the beginning. K12Press is dedicated to providing educators with the tools and knowledge to create exceptional online experiences for their communities. From tutorials and tips to comprehensive support, we’re here to help every step of the way.
For more tutorials and insights into enhancing your educational website, visit K12Press.com. Don’t forget to subscribe to our YouTube channel for the latest updates and tutorials, empowering you to bring the best of digital education to life.
Step by Step | Guide to Utilizing Divi Hover Options for Your School's Website
Getting Started with Hover Options:
- Accessing Divi Visual Builder:
- Start by navigating to your school’s webpage on your school website.
- Click on “Enable Visual Builder” to begin customizing your site.
- Understanding Hover Options:
- Divi provides hover options for nearly every module, allowing changes in design elements or content upon mouse/cursor interaction.
- A simple example is changing the color of text or button appearance as the mouse hovers over.
- Locating Hover Options:
- Inside the Divi Builder, select a module to edit (e.g., text, button). Notice a small arrow icon next to the design elements—this toggles between desktop and hover settings.
- Customizing Text on Hover:
- In the module’s settings, find a text element you wish to change on hover.
- Click the toggle icon to switch to hover options. Here, you can modify the text to display differently when hovered over, such as changing “Find It Fast” to “Find It Now”.
- Adjusting Design Elements:
- Navigate to the design tab within the module’s settings.
- For title text color, you might see it change from white (desktop) to orange (hover). This indicates a hover effect is already applied.
- Changing Background and Padding:
- Beyond text, you can alter background colors and padding to create depth or highlight elements during hover.
- For example, increasing padding on hover can make elements appear to lift off the page, adding a sophisticated touch to your site’s interaction.
- Transitions and Animation
- Divi allows you to customize how hover changes are animated, like fading in or adjusting more slowly for a polished look.
- Experiment with these settings to find the perfect transition for your site’s elements.
- Practical Applications:
- Use hover effects to make your navigation menu more engaging or to highlight important information blocks, such as student nutrition details, with dynamic text changes or animations.
- Experimenting with Hover Attributes:
- Each Divi module offers unique hover capabilities. Take time to explore various modules and see how hover effects can enhance content presentation and user engagement.
- Review and Save Changes:
- After applying hover effects, review your changes by exiting the Visual Builder and interacting with your site as a user would. – Save your changes and monitor user engagement to see how these dynamic elements improve their experience on your site.
Hover options in Divi offer a creative avenue to make your school’s website not just informative but interactive and engaging. From subtle color changes to transformative animations, the potential to captivate your audience is vast. We encourage you to explore and implement these features, making your site a dynamic resource for your school community.
As always, for more tips on creating an engaging and functional school website with WordPress and Divi, subscribe to K12Press Solutions on YouTube. Thank you for joining us, and here’s to making your school’s online presence as lively and inviting as your campus!


